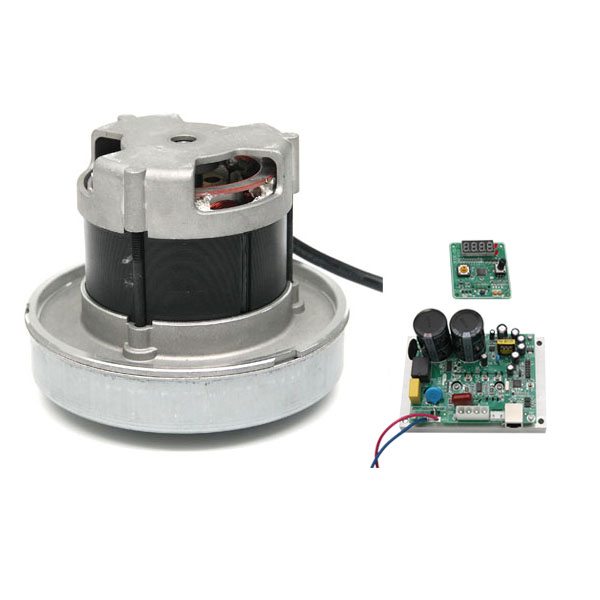
Factory directly supply NXK72C500 brushless motor for sewing machine to Czech republic Factory

Short Description:
Factory directly supply NXK72C500 brushless motor for sewing machine to Czech republic Factory Detail:
{6)EWA5$T9MMCT8(U}GWC.png)
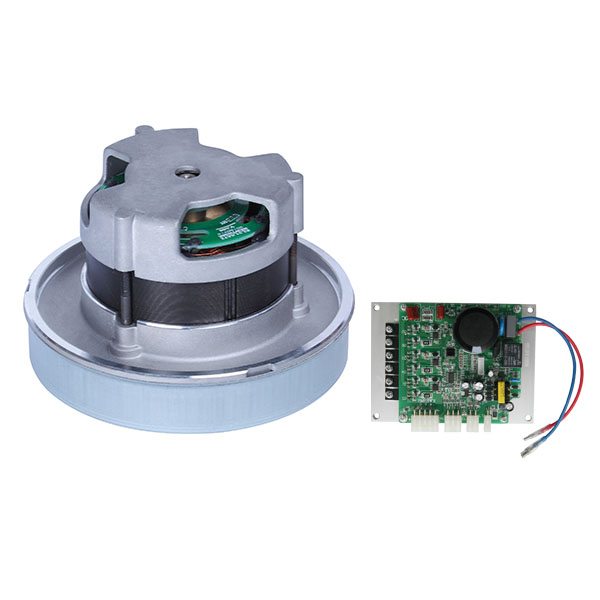
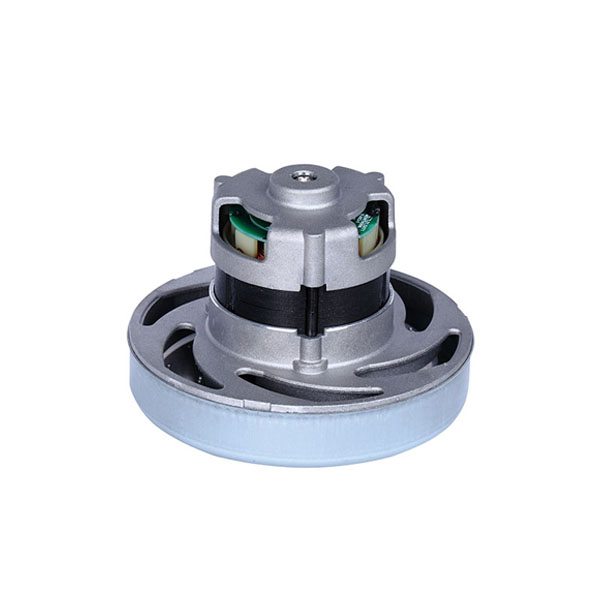
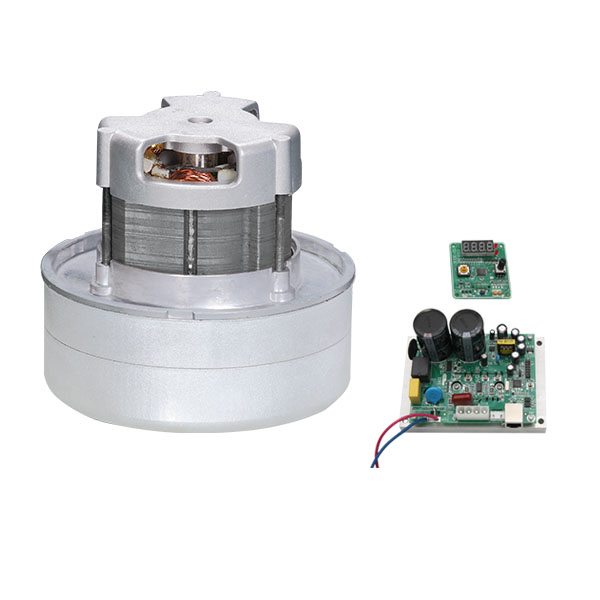
Product detail pictures:

We believe in: Innovation is our soul and spirit. High-quality is our life. Consumer need to have is our God for Factory directly supply NXK72C500 brushless motor for sewing machine to Czech republic Factory, The product will supply to all over the world, such as: Algeria , Angola , Uzbekistan , we always keep our credit and mutual benefit to our client, insist our high quality service to moving our clients. always welcome the our friends and clients to come and visit our company and guid our business, if you are interested in our products, you can also submit your purchase information online, and we will contact you immediately, we keep our highly sincere cooperation and wish everything in your side are all well.
Replace the Main Brush Motor
To replace Junior’s main brush motor, you’ll need a Phillips head screwdriver, the flat head screwdriver included in Junior’s box, and a new main brush motor.
Before starting any repair on Junior, turn his side power switch OFF and remove his dustbin.
Then, flip Junior over onto a flat surface and remove his main brush using the flat head screwdriver.
Keep all removed screws and parts safely aside, as they may be needed for later re-assembly. Use a Phillips head screwdriver to remove the 7 screws on Junior’s underside that hold him together.
There are 5 screws along the edges of Junior: One screw on each side of the front wheel.
One screw to the right of the main brush motor. And one screw on each side of the dustbin. The final two screws are in Junior’s brush compartment.
Junior’s cover is no longer secured, so hold the top and bottom together as you carefully flip him back onto his wheels.
Grip Junior’s cover from the back and lift up to expose the mainboard.
Slide the power inlet down and tuck it somewhere safe to avoid compressing its wires.
To detach Junior’s cover completely, disconnect 4 circuit plugs:
Two at the lower edge of the mainboard, near the wheels.
And two more at the top edge, near the bumper.
Junior’s cover is now completely detached and can be set aside for the rest of the repair.
The main brush motor is found on Junior’s left side, in front of the left wheel. Grip the motor and slide it up.
Then, grip the tab on the motor’s circuit plug and pull up to remove it from the mainboard.
Next connect the new main brush motor to the mainboard. Push down firmly to ensure a secure connection.
Align the new motor’s edges with the indentations inside Junior. It should easily slide straight down when lined up correctly.
Once in place, you’re ready to start closing Junior.
Reattach all 4 circuit plugs connecting Junior’s cover to the mainboard.
There are two that connect to the top edge of the mainboard. And two more that connect to the bottom edge.
Remember to slide the power inlet back into its space on Junior’s cover. Align the cover’s edges precisely. Then, flip Junior over onto a flat surface.
Ensure that no wires are compressed in the main brush compartment or visible at the edges of the bumper. If so, take a step back and lift the cover to tuck the wires into the appropriate spaces inside Junior.
Once the wires are all safely tucked away and Junior’s cover is aligned properly, reinstall all 7 screws previously removed from Junior’s underside.
Install the main brush and dustbin before your next use and Junior is completely re-assembled.
Turn the side power switch back on and congratulations! You’ve just replaced Junior’s Main Brush Motor. Happy cleaning!
I spend the day with the Hose Techniques gang and go to work on my buddy Tony Ngyuen’s MAZDA RX-7 FD3S for a full silicone vacuum line retrofit. Using the Hose Techniques FD3S Silicone Hose Kit we go over the advantages of using Hose Techniques’s Silicone hoses versus the competitions as well as the added benefit of what having fresh hose offers. More info at Hosetechniques.com
This company can be well to meet our needs on product quantity and delivery time, so we always choose them when we have procurement requirements.